Want to install wordpress locally? Well you’re on the right track! For today’s post, we’ll be helping you out on how to install wordpress locally on your computer, especially for those who would like to test their sites before they go live.
We will be using XAMP for today’s tutorial, and hopefully at the end of this tutorial, you’ll have your very own website to use locally on your device.
Step 1: Download and Install Xamp
You must go ahead to Apache Friends’ site to access this file. Then choose your running system then proceed to downloading the file itself. Give it some time because it’s quite a large file.

When the download finishes, try running the installer file.

Click next.

On the next screen, check and uncheck the boxes respectively. MySQL and phpMyAdmin must be checked at all times.

Select where you would like to install your test site

You’ll be asked to install Bitnami for XAMPP, there is NO NEED to install this, and kindly leave the box unchecked.

Click on next to install xamp


When it finishes, launch XAMP’s Control Panel.
Step 2: Start the modules and test your server

Once your already in the control panel, click start on Apache and MySQL

Then proceed to http://localhost/ on your browser, and if the page shows up like this, then you’re on the right track.
Step 3: Add the WordPress files

You must first head over to wordpress.org to download the latest version of wordpress

Then, in Windows, navigate to the folder where you installed XAMPP. Then in that folder, find the htdocs subfolder.Then create a new folder for your test site. This folder name will become the site name. For example, if you make the folder name into ‘wpdev-testsite’, you’ll access your site by going to http://localhost/wpdev-testsite.

Then extract the Worpress.zip file you downloaded earlier into the new folder that you created.
Step 4: Create a database for WordPress

Click on admin on MySQL

Then it will prompt you to this window, click on database next.

Set your database name to anything you’d prefer, for mine, WP Devs will do. After that, click on next.
Step 5: Install WordPress locally via the on-screen installer

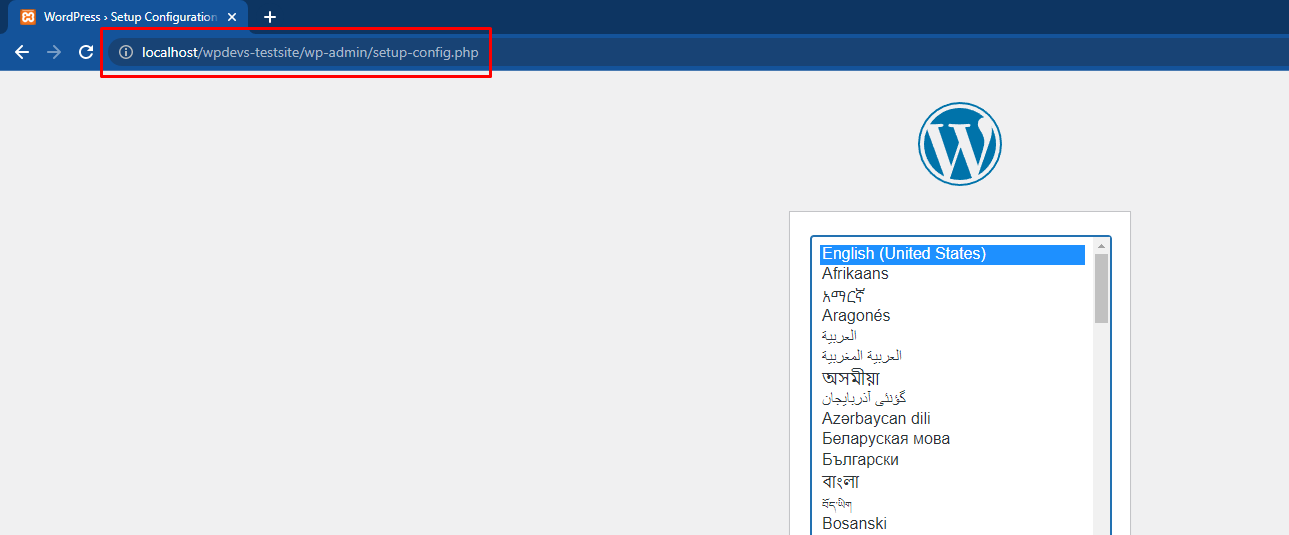
When you visit your local site, you should see the WordPress installer. [Your test site is just http://localhost/FOLDERNAME]

The only step where this process will differ from a normal install is the database details. When you get to the database details, enter them like this:
- Database Name = Name of the database you created in PHPMyAdmin
- Username = “root”
- Password = leave blank

After that, fill the following information

Once you’re done, you should see your brand new WordPress install running perfectly on your computer, you can design it to your liking, but that’s for another tutorial!
Don’t forget to follow out social media accounts to get more information you need regarding website development! See you in our next Tutorial!


