Do you want your WordPress website to improve it’s performance by this fast and simple to install plugin? We’ll be helping you out on how to install and configure the LiteSpeed Cache plugin on your WordPress site to make a faster performance.
About LiteSpeed Cache Plugin for WordPress
This plugins helps improve WordPress website performance by taking advantage of the LiteSpeed web server’s built-in page cache. The page cache stores content from dynamically-generated pages, resulting in faster page load times.
LiteSpeed plugins installation process is easy and it’s default settings are appropriate for most websites. The plugin provides a comprehensive interface that enables you to a customize a wide range of settings if you want to configure the plugin.
Here’s how you install the plugin on your wordpress site. Please follow these easy steps.
Step 1: Log in to your WordPress site as the administrator
Step 2: Look for “Plugins” on the left sidebar then click.

Step 3: Click Add New

Step 4: Then Type “LiteSpeed” Cache on the Search plugins text box then press enter

Step 5: Find LiteSpeed Cache, and then click Install Now

Step 6: Wait for WordPress to install your plugin
Step 7: When it finished installing your plugins click “Activate”

Configuring the LiteSpeed Plugin
Right after you install the plugin. You can customize settings for your site by following these steps:
1. Log in to your WordPress site as the administrator
2. Click LiteSpeed Cach in the left side bar then click settings. The plugin settings page appears.
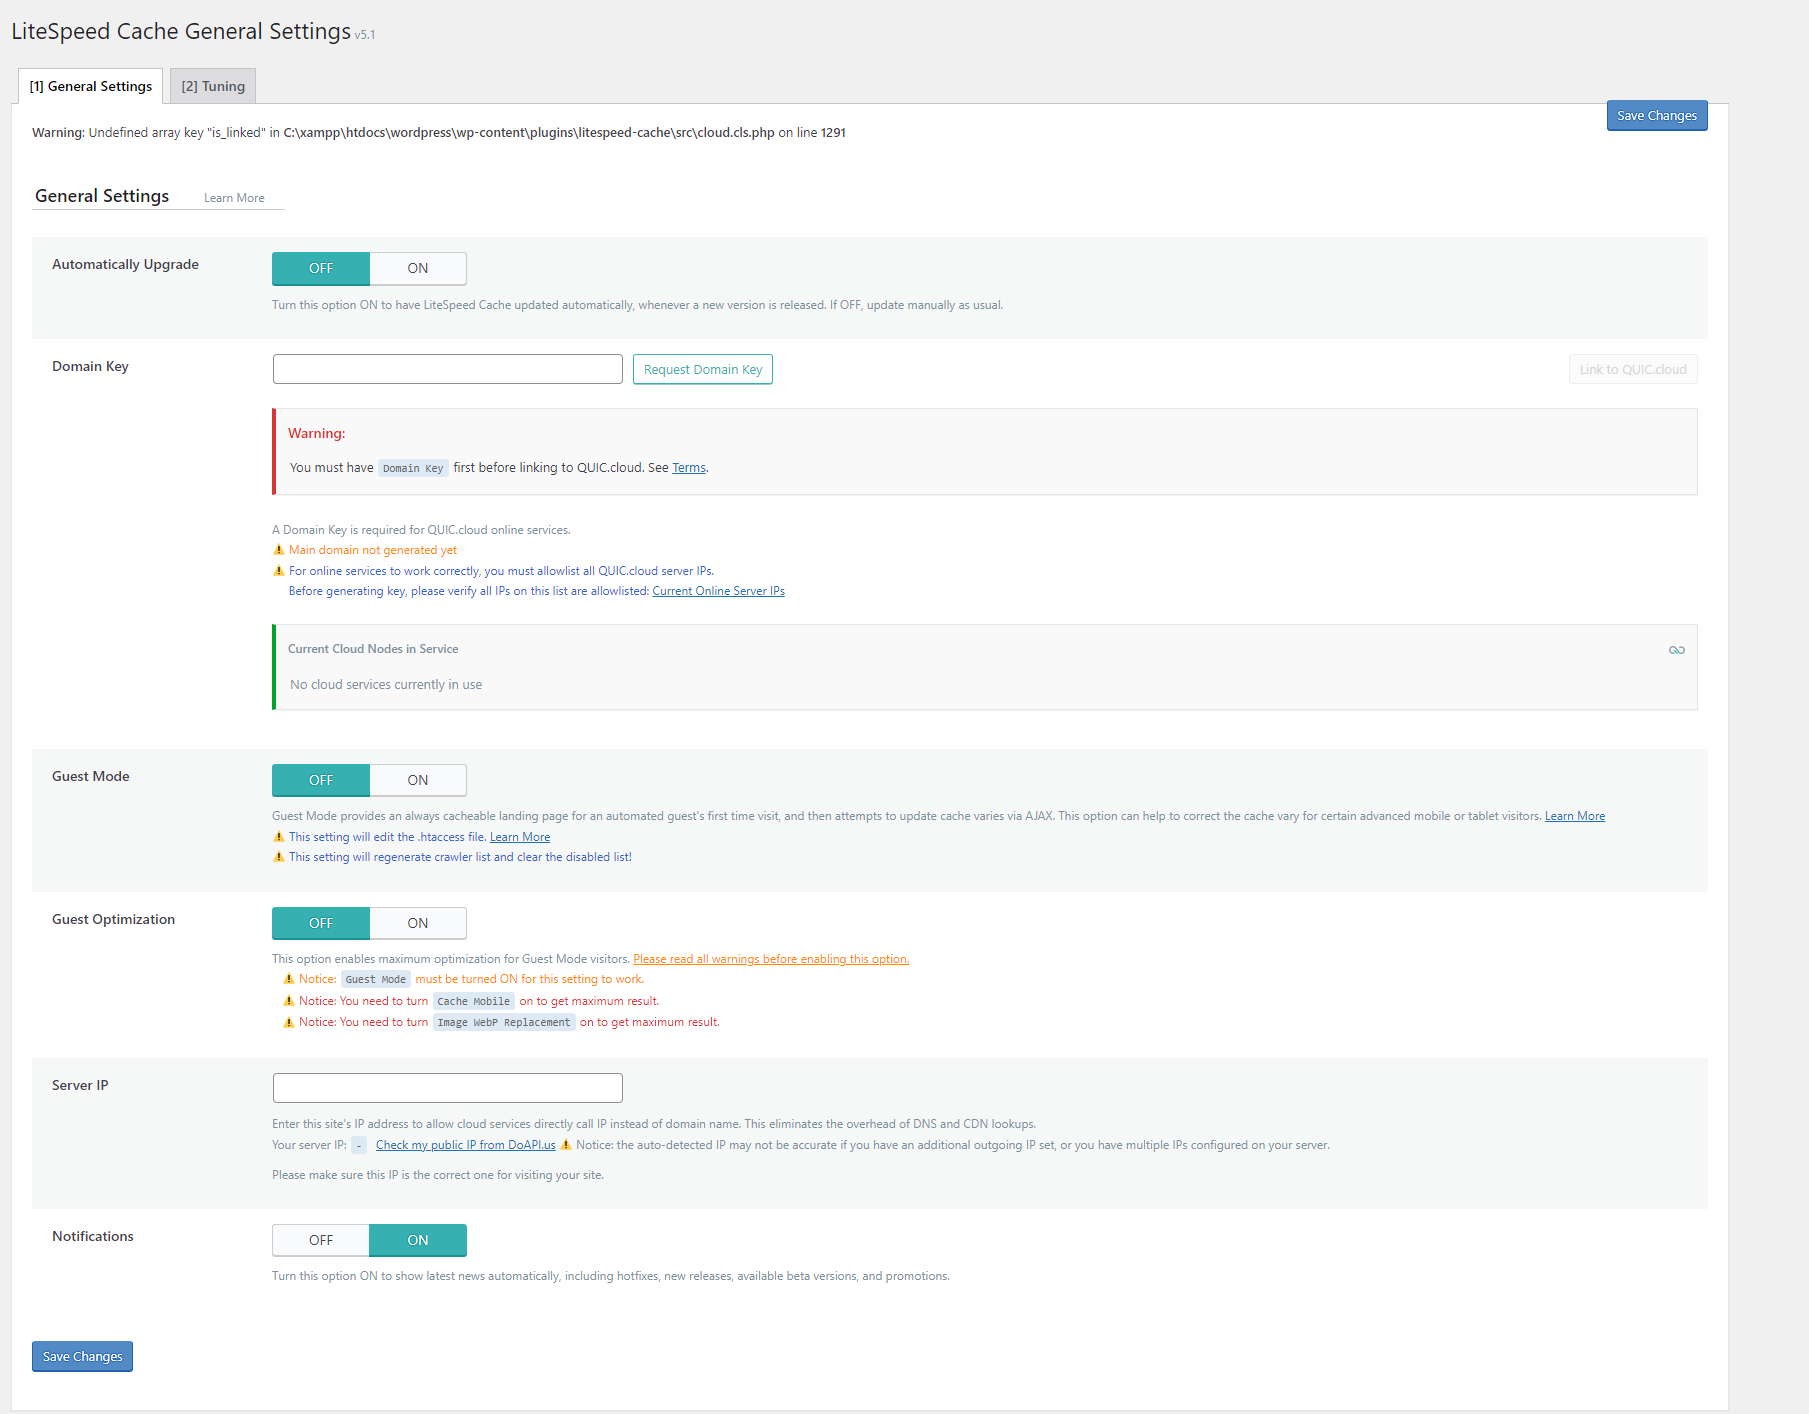
3. You can review the settings for your site
-The “General” Tab includes time-to-live setting that control how long various content are save in the cache
-The “Cache” tab includes settings that that control caching for extraordinary types of content such as REST API calls and login pages.
-The Purge tab includes settings for purging content stored in the cache. By default, LiteSpeed automatically purges the cache when themes, plugins or WordPress itselft is updated
*You can also clear the cache manually by following these steps:
-Click LiteSpeed Cache in the left sidebar, then click Manage
-Select the type of page or content that you want to purge on the Purge tab.
-The “Excludes” tab includes setting that define which types of content are not cached
-The “Optimize” tab includes settings that may further optimize your site
*Make sure you test your site thoroughly and verify that it still functions correctly if you change any of the settings on this page. Aggressive over-optimization can break a site functionality.
-The “CDN” Tab includes Content Delivery Network Settings.
-The “ESI” tab includes Edge Side Includes setting. ESI is an advanced caching technique that enables you to cache portions of pages.
-The “Advance” tab includes some miscellaneous advance settings.
*Changing these setting can make your site behave in unexpected ways of event make it inaccessible. Just be careful-depending on your site configuration
-The “Debug” tab contains debugging settings that you can use to help troubleshoot problems
4.Click “Save Changes” to save the new configuraton if you make any changes to the settings.
More Information
For more information about the LiteSpeed Cache for WordPress plugin, please visit https://wordpress.org/plugins/litespeed-cache.
Once you’re done, you should see your brand new LiteSpeed Cache plugin install running perfectly on your computer, you can clear cache on your own easily!
Don’t forget to follow out social media accounts to get more information you need regarding website development! See you in our next Tutorial!

